No-Bake Cheesecake
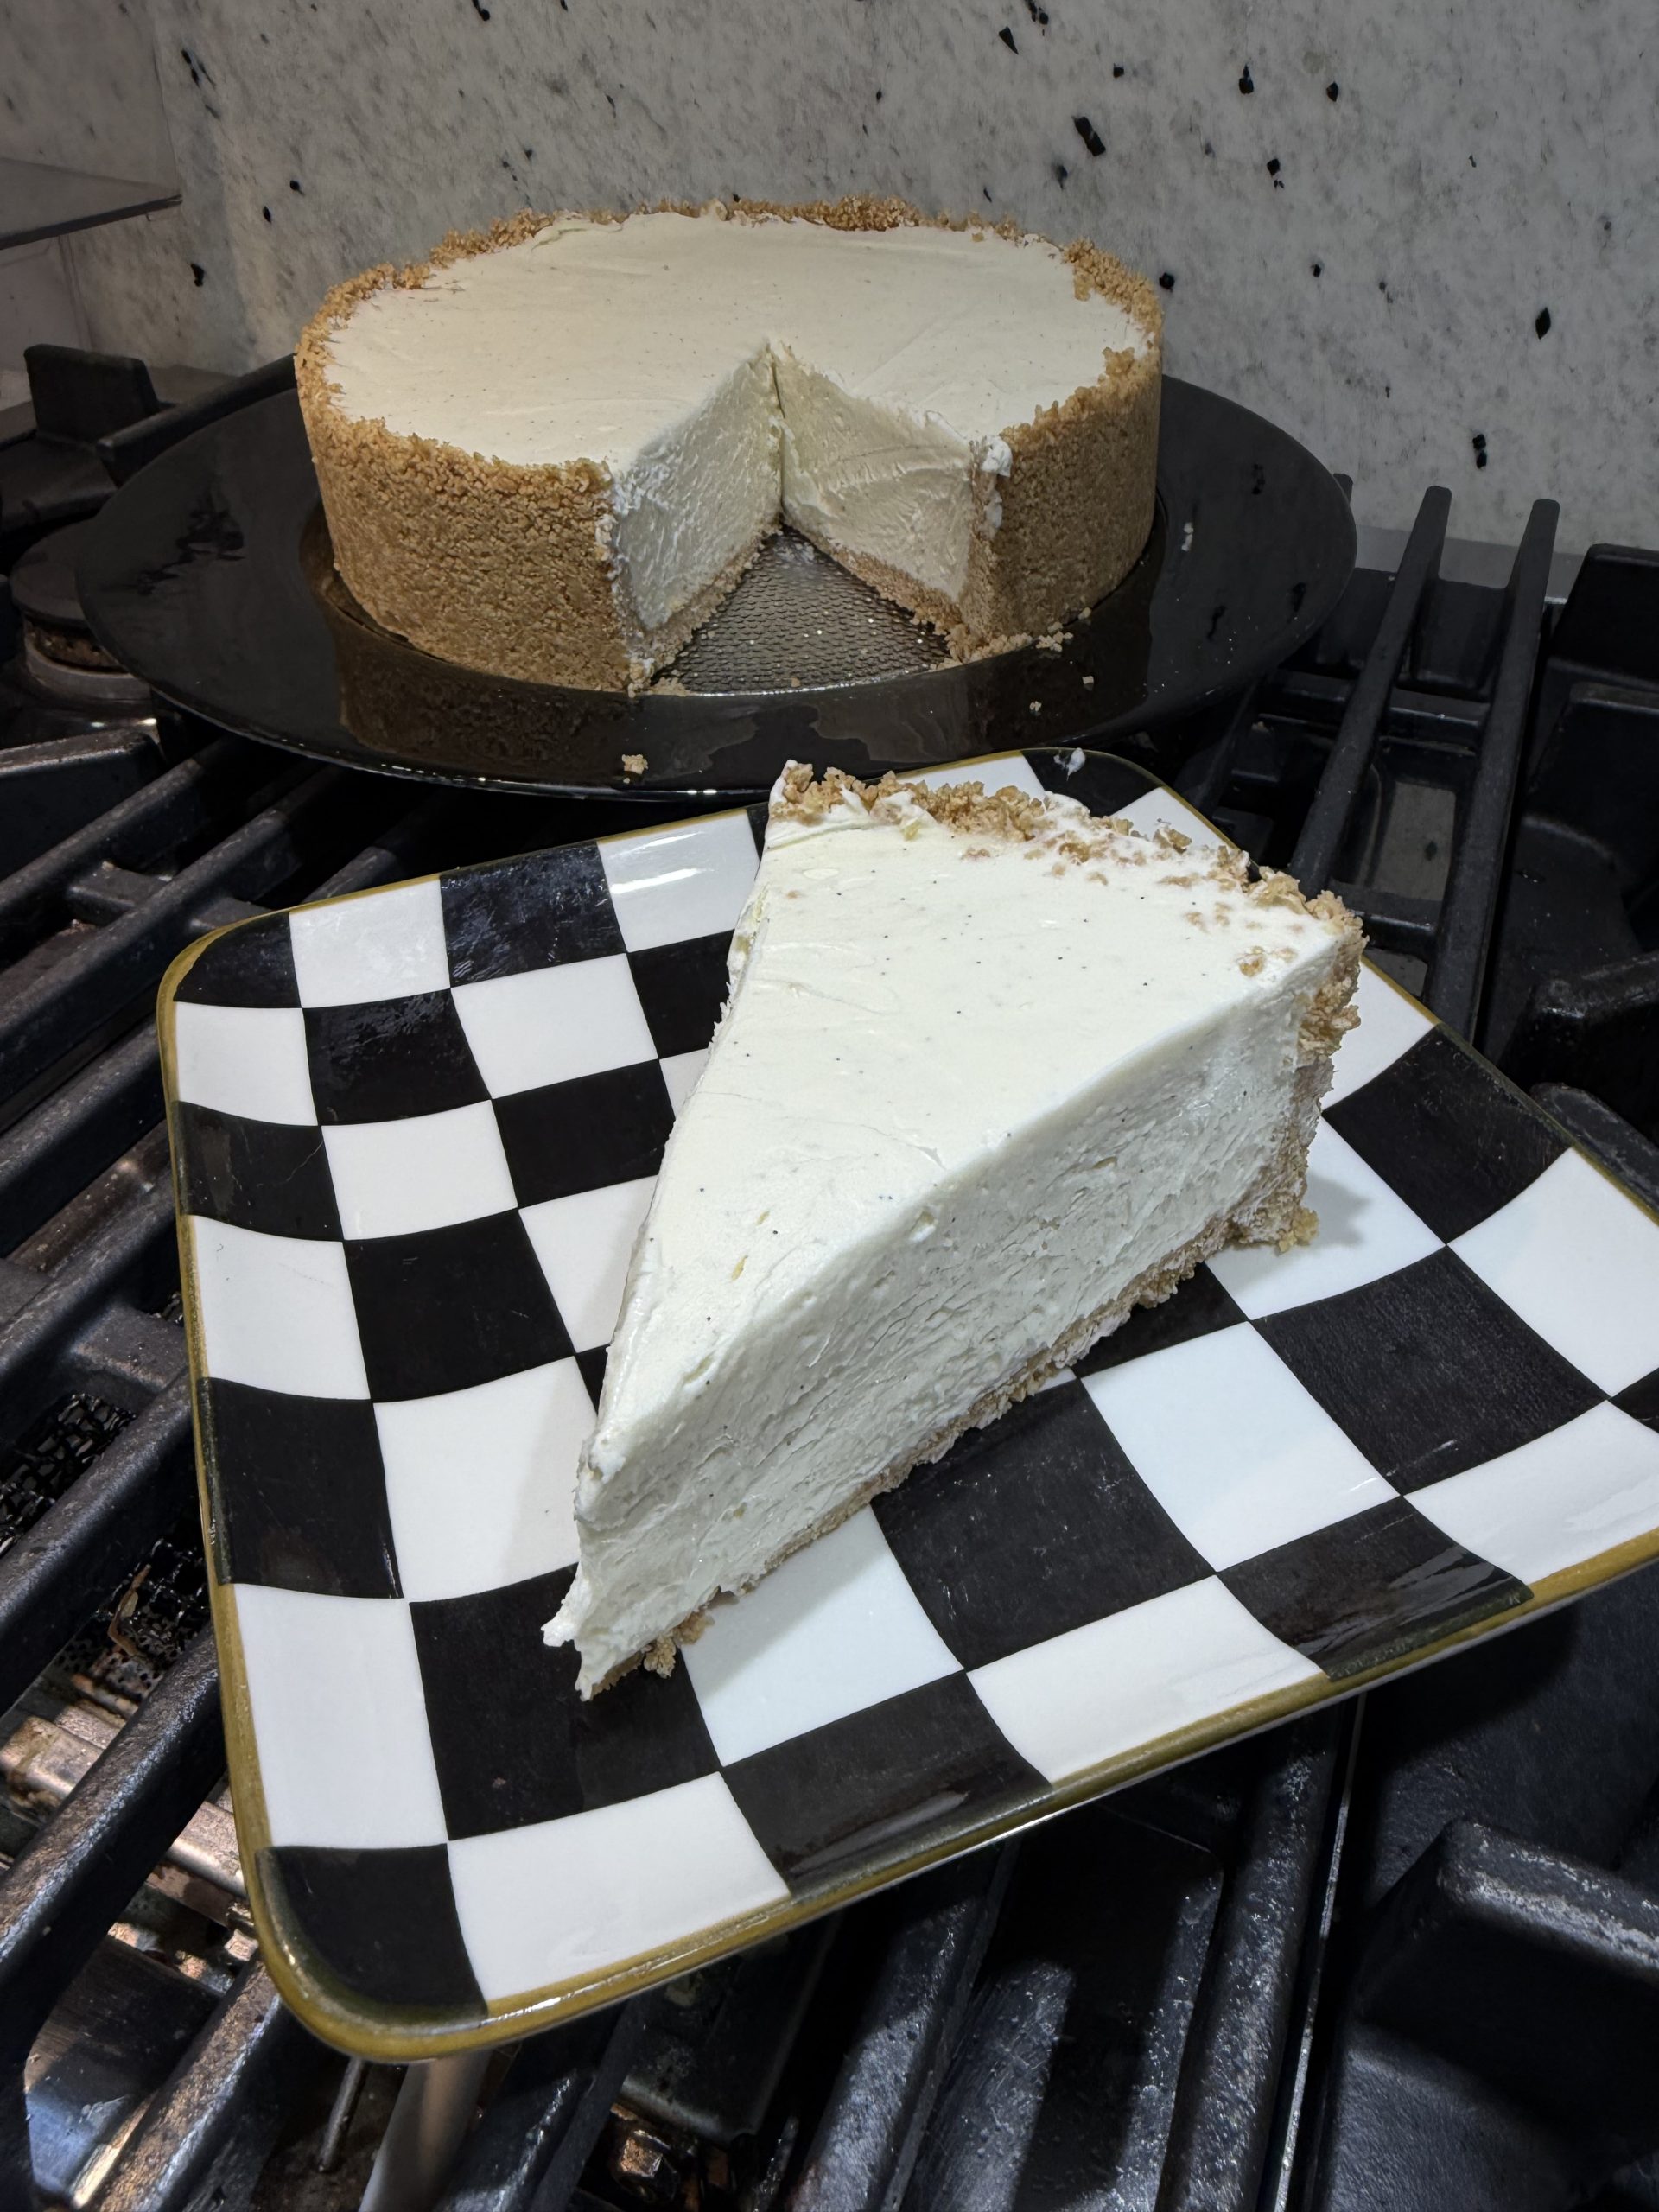
Some of my favorite desserts are the ones that don’t require turning on the oven. This no-bake cheesecake became one of those recipes I found myself making over and over again because it’s simple, creamy, and always a crowd favorite.
The Story Behind My No-Bake Cheesecake
Growing up around baking, I learned that the best desserts don’t have to be complicated. Sometimes a few simple ingredients, made with love, create the most unforgettable treats. I wanted a cheesecake that anyone could make at home—whether you’re a beginner in the kitchen or someone looking for a quick dessert for family gatherings, birthdays, holidays, or summer get-togethers.
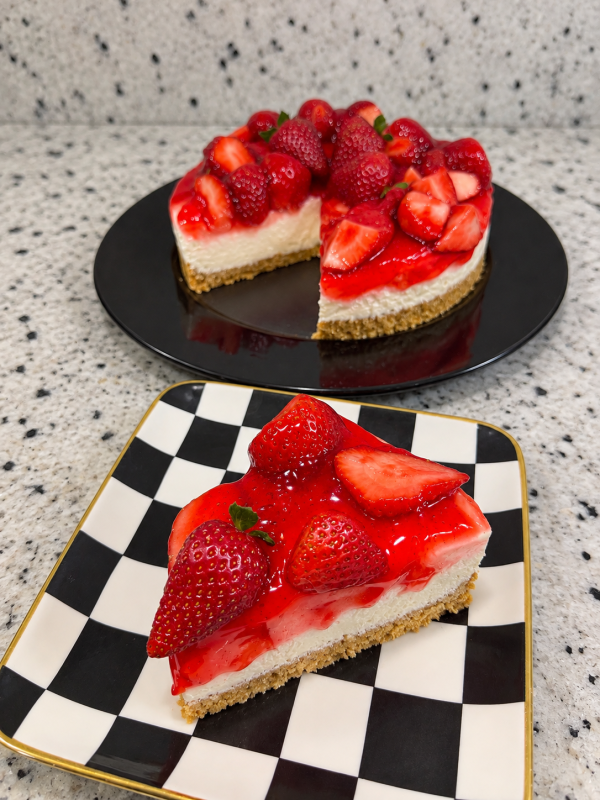
I love how light and smooth this cheesecake is with its buttery graham cracker crust. It’s delicious on its own or topped with fresh fruit, pie filling, chocolate, caramel, or whipped cream. Best of all, it can be made ahead of time, leaving you more time to enjoy the people you’re sharing it with.
I hope this recipe becomes one you make for years to come, creating sweet memories with every slice.
No-Bake Cheesecake
Ingredients
Crust
- 2 packages graham crackers
- 3/4 cup melted butter
Cheesecake Filling
- 18 oz 3 blocks cream cheese, softened
- 3/4 –1 cup powdered sugar depending on your preferred sweetness
- 1 teaspoon vanilla extract
- 2 cups heavy whipping cream
Instructions
Make the Crust
- Crush the graham crackers in a food processor until they become fine crumbs. No food processor? Place the crackers in a zip-top bag and crush them with a rolling pin or the bottom of a cup.
- Pour in the melted butter and mix with a fork until all the crumbs are evenly coated.
- Spray a 9-inch pie dish or springform pan with nonstick cooking spray, then firmly press the crumb mixture into the bottom. Use the bottom of a measuring cup or glass to pack the crust tightly. If using a pie dish, gently press some of the crust up the sides.
- Refrigerate while you prepare the filling.
Make the Cheesecake Filling
- In a large mixing bowl, whip the heavy cream, powdered sugar, and vanilla until thick, almost reaching stiff peaks.
- Add the softened cream cheese and mix on low speed until smooth, creamy, and free of lumps.
- Spread the cheesecake filling evenly over the chilled crust and smooth the top with a spatula.
- Cover and refrigerate for 4–6 hours, or overnight for the best texture.
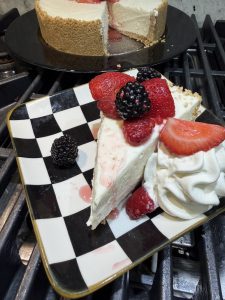
- Top with fresh strawberries, blueberries, raspberries, or any of your favorite berries before serving. Enjoy!
Connie’s notes
Ratings help other people decide whether to try it — and they tell me which recipes are worth doing more of. It takes ten seconds.
↓ Leave your rating